
Violin Lesson #1 for Absolute Beginners
Jan 26, 2021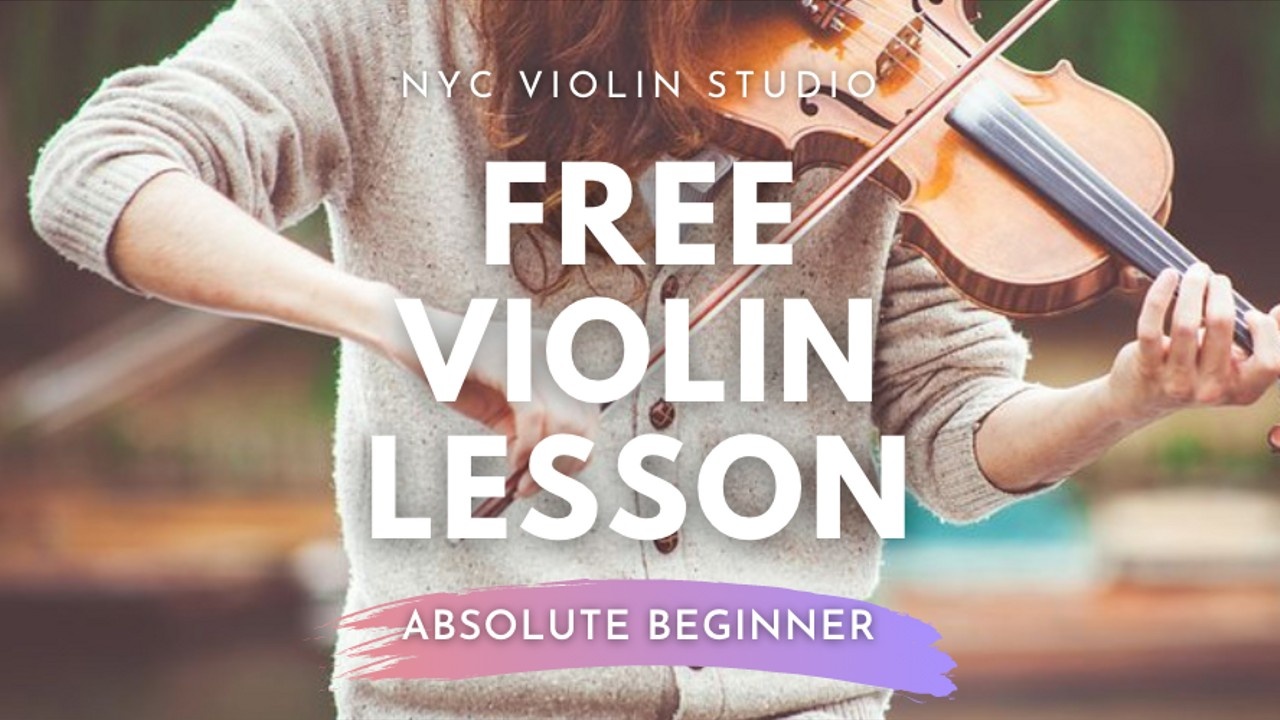
Article By Marie Votapka, Video Lesson by Antoinette Ady
Your first violin lesson: what the parts of the violin are, how they work, and how to hold the instrument.
An Orientation
For all you adult students out there who have ever wondered - is learning violin for children? Am I too old? Is it too late? I'm here to tell you that the answer is undoubtedly, 100%, most definitely NO. Learning the violin is NOT just for children, you are NOT too old, and it is NEVER ever, ever too late. Don't you ever let those thoughts stop you.
I know it can be challenging to learn as an adult but guess what? It's challenging for kids too! And possibly even more so because music and violin playing involve concepts that young kids may not be able to grasp right away. At least not as quickly and directly as an adult student would be able to. Things like having an average adult level vocabulary, knowing basic math, having fine motor skills...these are all advantages more mature students have over those young little kids who seemingly pop out of the womb ready to dazzle the world with their prodigious abilities.
Don't get me wrong. There are child prodigies, yes. The truth is they exist. But regardless of age, there's no question that they practice a TON to develop and keep their skills. But let's forget about all that. We're not talking about kids. We're talking about you. The adult. The one old enough to be reading this article on your own right now. (Go you!)
I wanted to direct you to yet another great resource for your violin learning, and this time it comes from my home Studio as a teacher - the NYC Violin Studio. Specifically, from the Owner and Head Teacher, Ms. Antoinette Ady herself.
Antoinette has been teaching the violin for YEARS and over time, she has come to notice one thing. For some reason, ever since she set up shop in Manhattan, NY, the large majority of her students seem to be adults. She never marketed to adults, never said "no kids!", never put out any ads appealing only to older crowds. But she found that most of her students were adult students, looking for more in life, wanting to learn something new or expand their horizons by playing music that they once played as a kid but never continued. Or, always wanted to.
From her experience working with older students as opposed to young kids, she began to observe that there was a surprising lack of books or information out there written and designed specifically for an adult learner who was first starting out on their violin journey. Wanting only the best for her students, she became to determined to fill that void in the music education world. After years of sifting through many, many different methods of teaching the violin, she developed her own method, now known as the NYC Violin Studio Method.
What we're going to go over today is Lesson #1, straight out of that book. So hold onto your hats people, because your head is about to become stuffed full of violin knowledge!
As an adult, you're smart. I'm sorry if you don't think so, but you are. And although you may have no musical background whatsoever, you will still be able to progress rapidly through our lesson plans, because it is actually designed for people exactly like you. So let's get going!
Lesson #1
We'll begin at the beginning with Lesson #1. In this article (and in the bonus video that goes along with this blog post) we're going to talk about the basics of the violin so that you can understand its parts. What they are, where they are and why the heck you need them.
If you don't know what anything is called, you won't know what your teacher is talking about when he or she asks you to do various things. Imagine learning how to drive a car and the instructor says to hit the brakes...but you don't know what or where the breaks are! That wouldn't work out very well. So, Lesson #1 here consists of a clear breakdown of the instrument itself and showing you only the key essential parts you need to know to begin (and no more).
The Parts of the Violin
We’ll start at the top of the violin, with the scroll. The scroll is the little curly-Q looking thing at the top. That’s right, I’m being very technical by saying “curly-Q thing”. But no seriously, it’s spiral-shaped and looks like a curled up fern (you might have heard that ferns are sometimes called “fiddleheads”, and this is why).


Now, if you watched the video we included here, you might've noticed that the scroll is not always this shape. Very occasionally, you'll see various designs in its place, most commonly a human or animal head. It became customary for luthiers to utilize this aspect of wood carving to showcase their fine craftsmanship, and add to the fine beauty of their violins. The bottom line is, no matter what shape you see, we still refer to this piece as the scroll.
As for its purpose and why it exists, most commonly the scroll is simply known to be ornamental, featuring and exemplifying the beauty of the violin itself. What's interesting is the fact that this symbol of the spiral actually goes back quite a ways when it comes to talking about art and history, and it symbolizes quite a lot. If that type of science, mathematics and art history stuff interests you, after you finish this lesson, check out this cool article on the Fibonacci Sequence and how its relation to the violin scroll.
So bottom line, when it comes to the whole point of the scroll, in all honesty, there could be a square block at the top of the violin and it would not function any differently. The carved shape, whatever it may be just adds some of that beautiful mystery to the appearance, performance and artistry of playing the violin.
Moving on to the next part of the violin, right below the scroll, you have 4 pegs (one for each string). The pegs are used to make larger adjustments in tuning, as opposed to the fine tuners (smaller turners at the other end of the strings) which make small adjustments in tuning. In the picture below, there is only one fine tuner.

More expensive and higher quality instruments typically only have one or two fine tuners as opposed to the four that you might see on your instrument as a beginner. Because the instruments are of higher quality, the pegs themselves can be used to make finer adjustments in pitch as well as larger ones without slipping, coming out of place, or giving you other difficulties that are common to beginner-level instruments.
Moving downward from there, you have the neck, which is the long part of the violin attaching the body to the scroll. On the neck you have the fingerboard, which is the black surface that you see that travels some length up over the instrument. As you might’ve guessed, the fingerboard is where you place your left-hand fingers to create different notes while bowing or plucking the strings.

You can play as high up as the fingerboard goes, but no further. Beyond that point you will find free space beneath the strings, and that is where the instrument is meant to be played with the bow. If you place your fingers here or touch it too much, it could affect the quality of your strings and therefore your sound. Try and avoid touching that area of the strings. That rule applies to the bow hair itself as well. When you touch the bow hair too much, the oil on your fingers transfers and remains on the hair, which makes the bow less able to grab onto the strings and create a sound. So golden rule: don't touch the bow hair!
Next up, the strings are held above the fingerboard by what is called the bridge, which is a beautiful (and functional) carved wooden arch.

This is a very key part of the instrument. As you can see in the picture above, it gives the strings some height. Meaning that it holds them up off of the fingerboard so that when you press down with your fingers, the sound and the various pitches can be produced.
What you are doing essentially is working with vibrations. If you have a violin, choose any string and pluck it. Let the sound ring out, and if you watch the string, you will see it moving or vibrating rapidly back and forth from end to end. The thicker the string, the slower it vibrates, resulting in a lower pitch. The thinner the string, the faster it vibrates, resulting in a higher pitch.
The length of the string also plays a large role in this. Pluck the same string again that you just did before. Note what it sounds like. Now, take a finger, and press that string down to the fingerboard and pluck it again while holding it down. The pitch will be higher than the one without your finger holding it down. This is because you are artifically shortening the string's length, and therefore changing the way it vibrates, which results in a different sound. The shorter you make the string (the shorter space you create between the bridge and where your finger is placed on the finger board), the higher and higher the sound will be.
Continuing on with this idea of vibrations, let's now talk about how in the world this piece of wood and strings actually creates such a powerful sound. Keep in mind, all those years ago microphones did not exist, so how did musicians perform for large groups of people? How could they be heard?
Part of the answer of course, lies within the wonderful architects who designed the acoustically gorgeous theaters and concert halls that we have today, but also within the science of the violin itself and its ability to project.
What does that mean? I'll tell you.
Like we said above, when the strings are plucked or bowed, they create vibrations. Now, the way these vibrations travel is what matters most here. Inside your violin, there is something called a sound post. Hold the instrument on its back so that the strings are facing the ceiling. Now try to get it at an angle where you can peek inside through the f-holes (the ornately carved "f"s on both sides of the bridge). If you can get a glimpse in there, you'll see a small little wooden post standing up right beneath your bridge on the inside of the violin. That is the sound post, and it has a very important job.
So, you plucked (or bowed) the string, and it's vibrating. These vibrations then travel down the string, down through the bridge, which proceeds to transmit the vibrations down through the sound post. The sound post, as it connects both the front and back of the violin, then carries the vibrations throughout the entire body of the instrument, so that the entire thing is actually resonating with the sound of the vibrations you created. In addition to that, the f-holes have actually gone through countless evolutions over many many years to create the most scientifically perfect shape to push that sound out of the instrument and project it out to the audience. And voila! You have a powerful sound without the need for electronic amplification.
You may notice that concert violinists stand so the audience members have a more profile view of them as opposed to looking at the performer straight on. This is because the violinist is standing in a way to make sure the f-holes face the audience, to allow for a clearer sound and better projection. For those of you who look forward to recording someday rather than playing in crowded places like concert halls (*ahem, social distancing*) the best place to place any kind of mic you might be using would be in front of and right above the f-holes. Antoinette describes this a little more in the video that goes along with this article, just in case you want more of a visual on how that would work.
Next!
The chin rest. Which...is a bit of a misnomer. Because whenever I or probably any other teacher says “chin rest” most students go ahead and plunk their chin right on there so the violin is right in front of them. Like this:

Don't get me wrong, this kid is adorable. With his little bow tie and everything...my goodness, so cute. Anyway, you can see that he is holding the instrument so that it points pretty much straight out in front of him, placing his chin right in the middle.
Honestly, I don't blame anyone who says, "Oh, this is called the chin rest? Great. Let me rest my chin upon it." It makes sense that you'd draw that conclusion The unfortunate thing is, that is not what you do with it. Not exactly. First of all, holding it in front of your throat like that, I don't know about anyone else, but I'm not sure how some people don't feel like their windpipe isn't being crushed. BUT the good news is no, you do not need to crush your airways to play the violin.
You are actually meant to be quite comfortable and relaxed. The violin should rest on your collar bone and shoulder, and the chin rest could more aptly be named the "jaw rest", since that, more realistically, is the body part you use to keep it in place:

Bringing the Instrument to You
Now that we're starting to get into how to hold the violin, you should know that the most important thing is for you to be relaxed and comfortable. Of course, at first it might feel strange since it's not exactly a natural position you're used to (unless you've played before). But though it feels strange, you should ultimately feel tension-free. If you feel tension or pain in your neck, shoulders or hands, it means you are doing something incorrectly and need to adjust.
The rule is when holding the violin - you bring the instrument to you. Meaning, you're the boss, and you move the violin to fit your body, not the other way around. Do not crunch, twist, spin, turn, bend or otherwise unnaturally alter your body position in order to maintain your hold on the violin. Doing so will not only compromise your ability to play fluidly, but it can also lead to joint pain, muscle tension or other injury, if kept up for too long. Common habits to watch out for are crunching your shoulder up to support the violin, twisting and clenching your neck to hand onto it, or even grabbing and squeezing the neck with your left hand as you support it (but that comes into play only once you start playing notes with your fingers, so keep an eye out for that when you get there).
Your best playing will always come when you are relaxed and comfortable, so finding the set up that works best for you is key early on so you can begin developing the right habits in your practice.

Going along with this comes the discussion of shoulder rests. This is a violin accessory that you can purchase separately. It attaches to the back of the violin and gives you some extra support when holding it up on your shoulder.

Often, those of us with longer necks find this helpful, but there is a lot of debate on the subject. Personally, I use one. Antoinette doesn't. I know plenty of teachers who both use and don't use a shoulder rest, and while many teachers insist that their students do or do not use one, the truth is, every players needs to discover what they are most comfortable with. This can only be decided with time and experience in a multitude of playing situations.
What may be right for one person, may not be right for someone else. Everyone is shaped differently, moves differently, feels tension in different ways. Even famous concert violinist and virtuoso Hillary Hahn echos this same statement, in a video she put out in answer to what type of set up and equipment she uses. Check it out here if you're curious!
The most important thing is figure out what works for you. Your teacher will help you decide, and we'll likely do another blog post on it in the future. If you watch a lot of professional violinists on youtube, you’ll find that many of them have very different set ups, and that these set-ups change over time. Some use a shoulder rest, some don’t. Some don’t even use a chin rest. Some of them have a cloth over their shoulder, some of them have a cloth over the chin rest...there are countless ways to make things work, including even changing the height and shape of your chin rest! There is no one size fits all, so if you find something uncomfortable or painful, tell your teacher. You don't have to “grin and bear it”. If it doesn’t work for you, it doesn’t work for you and that’s ok! Something will work.
If you don’t have a teacher, there are plenty of online communities that offer free advice - like our Facebook group hosted by the NYC Violin Studio called Adult Violin Students. We host free practice warm-up sessions, post tons of advice and support from our growing community of adult students like yourself, and otherwise continue to listen to the needs of adult learners out there so we can provide the tools necessary to successful virtual learning. Feel free to hop on over there any time you need a pleasant support group, motivation or anything else.
Watch the video included with this blog for a more lively and interactive orientation to the violin. And if you already know the parts of the violin, that’s great! Just send us some feedback on what types of things you’d like to hear more about, any questions you have or any other violin topics that would be helpful to you for us to cover.
If you're interested in learning more, sign up for our Absolute Beginner Self-Guided Violin Course. There you will receive a free copy of the E-Book referred to in the lesson above.
Happy practicing!
